
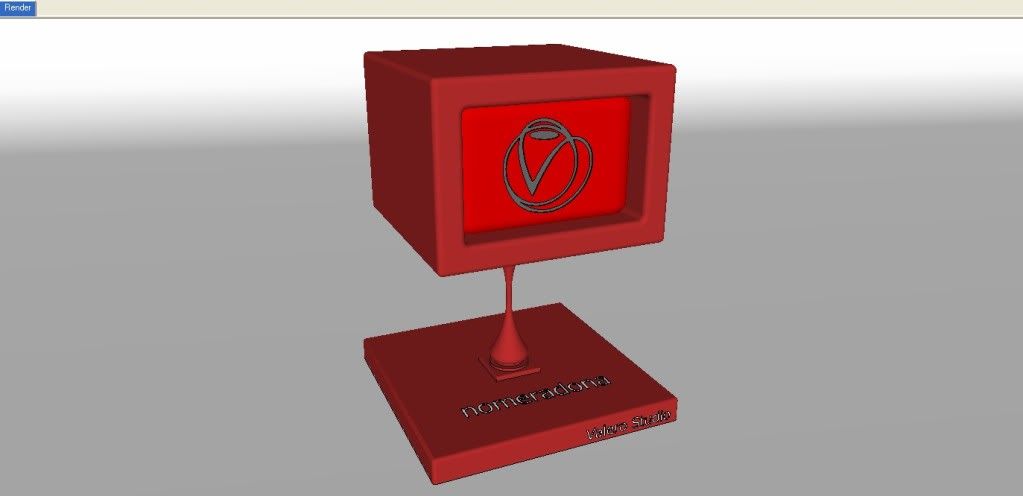
1. The VISMAT Skp Model
You can download the Vray Material Model1 (original) HEREor Download the Simplified Model (good for planar mapping) HERE
Model courtesy of Valero Studio
When you use this model, please DO NOT change the camera view.
Do not remove Valero Studio text
Do not remove Nomeradona,
Create text of your Name under Nomeradona
Do not share "vismats" which were not done by you.
Acknowledge the source of texture you use, and be sure they are free to share.
2. How to share your Vismats here!
I hope there is a much easier way in sharing your vismats, but please bear with us at the moment. Anyhow here is the workflow.
Step 1: Download the VRAY Material Model HERE
Thanks to Valerostudio for this model..
Step 2: Load the VRAY Material Model in SketchUp
If you want to personalized and add your name, use the type tool and put your name on the base of the material model.
Step 3: Create or Load your VRAY Material
Open your VRAY Material Editor. Create or Load (if its saved already) your VRAY Material.
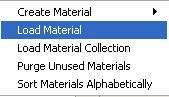
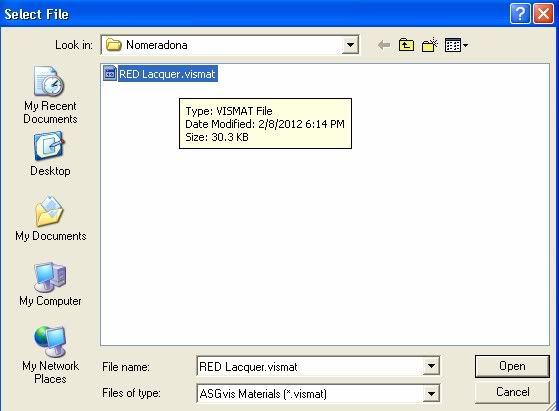
In my case, I have the pre-made material "RED lacquer vismat" I made before. Browse the location of this material and click open.
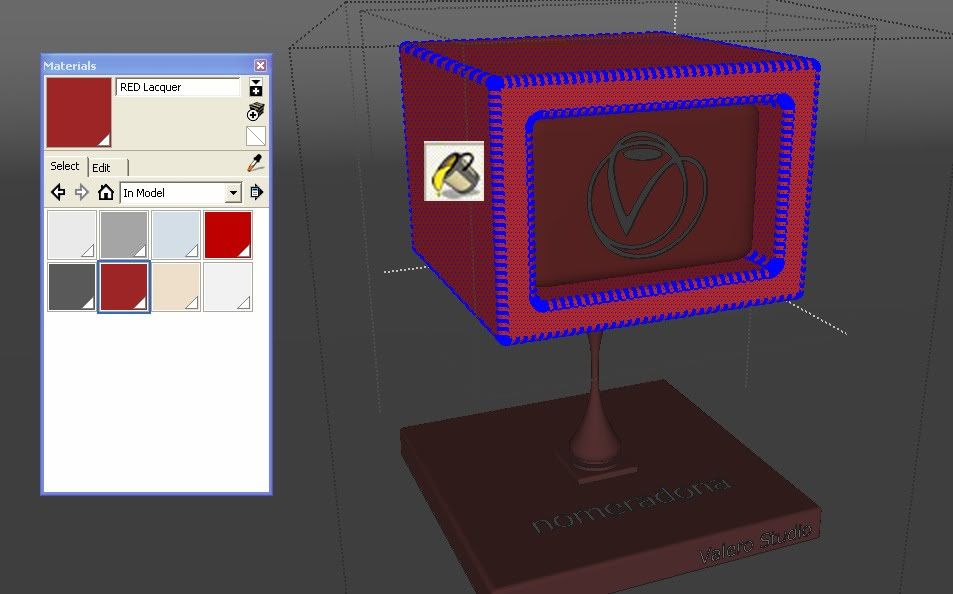
Step 4: Select the VRAY Material
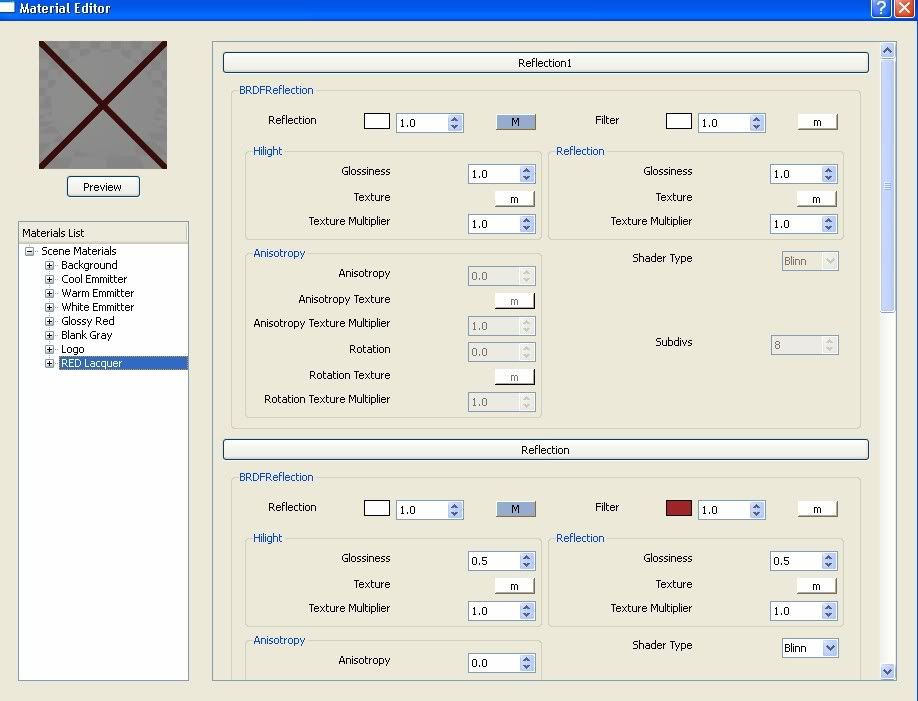
Step 5: Apply the material to the model
Apply the material to the model except for the box of the logo part. It is better to apply the material in SketchUp using the paint tool. Do not apply the material using the VRAY Material Editor, it will take ages.
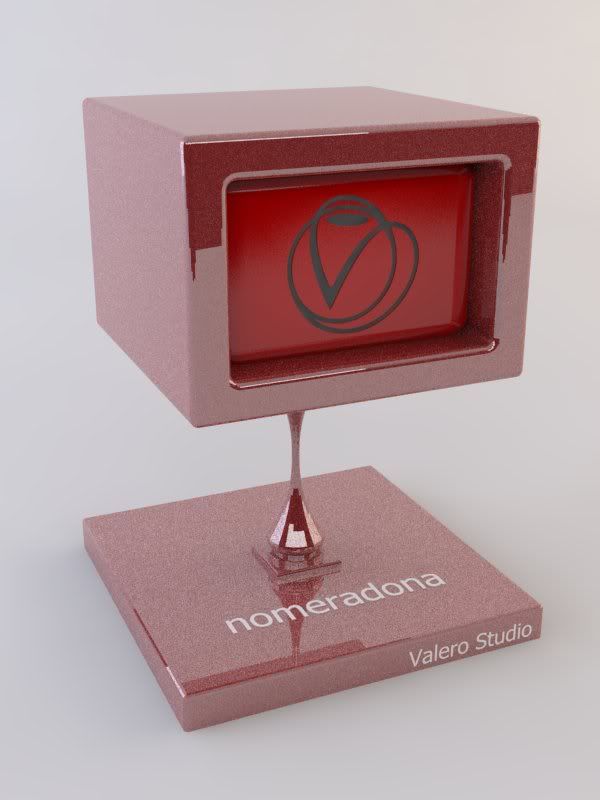
Step 6: RENDER
Here is the completed render, ready to be shared as SVM standard image.
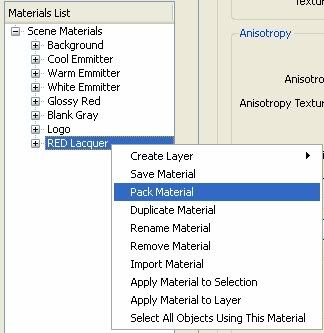
Step 7. Pack the material
If you are using VFSU 1.49.01 you can pack the material into zip file (complete with texture and preview). If you are using the other Vray versions, then click save material and do the packing manually (include the texture, the vismats).
We will be happy to share your vismat here. Just send it to sketchupvraymaterials@gmail.com
3. Sharing Policy
Some of the regular contributors could be invited to share their VISMATS to this blog directly, and will be given the privilege to be co-authors.
Here is a small tutorial on the process.
Step1: Invitation by SketchUpVrayMaterials.
You will receive an invitation from SketchUpVray Materials that looks like this. Be sure to have a Google Account. If you have a Google Account just click here. If not click Create your account now.

Step2: Write Post
Once you join, you will have a new blogger user interface. You are now officially co-author of the blog. To write a post, simply click the "pencil" icon.

Step 3: Writing Procedure
When writing, sett the below, example. Under the post title enter the title of the post. When sharing Vray material write the name of the material and the author name. Under the Body. It's also ok to repeat it and ideally writing a bit of description will be nice. (see image below)

Step 4: Providing a Link
I either use Google site or file hosting sites in sharing my files. To share download link to this file. I normally write "Donwload HERE" and highlight the word HERE and click the LINK icon. Under the Edit link (see below), I paste the URL provided by the File hosting site. Be sure to tick "open this link in a new window.

Attach sample rendered image by clicking the "insert image" icon beside the Link. A new File upload box will appear. Browse the location of your rendered image in your computer. Select the image and click "open". You can also use URL location, if sites are hosting them.

The image will be uploaded. Click "Add Selected".

Here is a screengrab showing the whole draft of your post.

Step 6: Adding Labels
On the right portion of the User Interface, there is a Label tab. Enter the label of the post. If you are a new author, enter your name, look at the below labels and type the particular label.

Step 7: Publishing the post
You can now publish your post. Click publish.

To view the blog entry just click View blog.
Blog entry is showing.
